I personally love to sew and have little helpers that love to help in the kitchen. So, since my 21 month old didn't have a apron yet and wanted to be like her big sissy whose 3 I decided to make her one too.
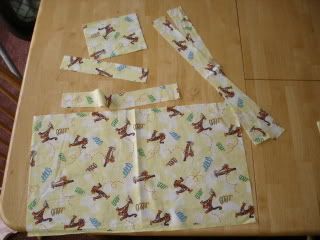
First, you need to cut your pieces. I use my rotary cutter, mat, and ruler to do this.
You need the following:
(2) 6"x7" squares for the top
2" x 10 1/2" rectangle for waist band
2 1/2" x 15 1/2" for neck strap
(You might want to shorten this as it does make it a little longer in the neck. But I like it this way as I can pin it up and let it out as they grow.)
(2) 2 1/2" x 21" for waist straps
13 1/2" x 23" to 25" bottom
(depends on how long you want it measure your child)
This is what your pieces should look like all cut out.
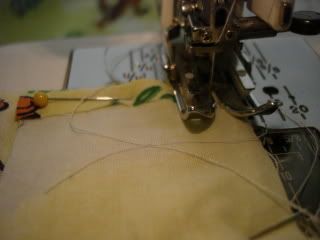
After you get all that done it's time to set to work. Take the neck strap and fold it in half right sides together and sew a 1/4 seam allowance down the long side. No need to sew one end closed as that will be hidden in the top. After you get that done turn the strap right side out. 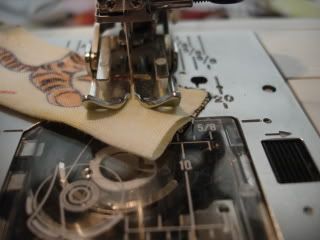
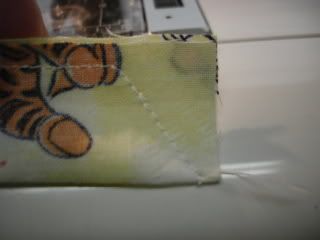
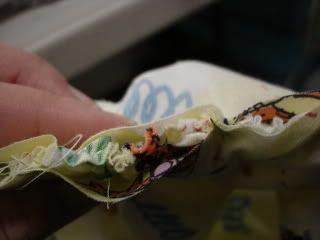
I then go ahead and do the same for the waist straps but we take one end and sew it at a angle.
It should look like this.
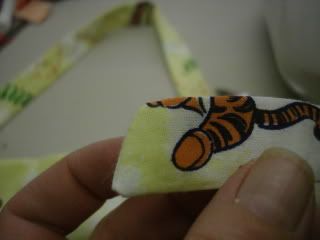
Then turn it right side out. And I press all the straps to get all the wrinkles out and make it look nice and pretty. This is what your waist straps should look like when finished.
Put aside the waist straps for now. Get the neck strap out and pin it inbetween the 2 front pieces right sides together. You will be pinning the straps to the corners of the front pieces. It should be sewn where it is 7" wide and 6" tall.
Sew only the sides and the top part where the straps are going to be using 1/4 seam allowance. Then turn right side out.
Put this piece aside as now we are going to work on the bottom. For the bottom I do a 1/2" hem and fold under 1/4". I do this for the sides and bottom and then I press it. I really hate using pins so I use my iron as much as possible.
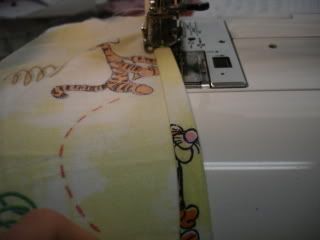
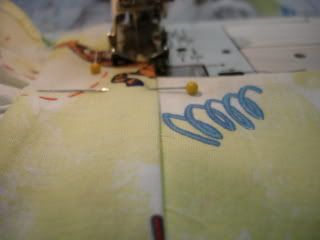
After doing that you can go ahead and do a baste stitch at the top of the bottom piece. You can do 2 rows or one to gather the material to fit. I perfer doing 2 rows but to each their own.
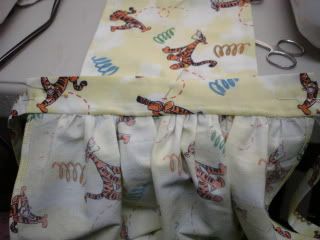
Then you are going to take the waist band and fold the sides in 1/4" and press. Then take the waist bands right sides together and put in the bottom piece making sure you work your gathers out evenly. Of course get the pins and pin it as much needed.
After you get the gathers to your liking sew the waist band and bottom togethering using a 1/4 seam allowance.
I then take the waist band and press under on the open part 1/4". Then I take my waist straps and center it on the sides of the waist band. I also center my top piece in the top of the waist band. I then pin it and sew it all together.
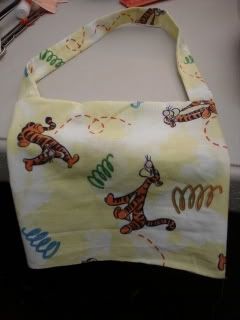
Then you are finished!

My very happy model!
Hope you enjoy! If you have any ?s please feel free to leave a comment!
I just found your blog and wanted to say hi and let you know I am your newest follower! :)
ReplyDeleteVery cute apron! Love the pics of your kids in the kitchen with you too. Funny story: I typed "monday blog hops" into my search engine and your blog was the first to come up!! Although you don't have any bloghops listed. LOL I've found you anyway! Following now. Very cute blog.
ReplyDeleteMichelle
http://www.heartfeltbalancehandmadelife.blogspot.com
That is adorable! And you are very talented!
ReplyDelete